You’ve probably seen these kits at Walmart or your local supermarket every October. A little saw and some plastic tools attached to a cardboard backing with a booklet of paper stencils inside. That’s probably a Pumpkin Masters kit, and it changed everything.
Back in 1985, a family in Racine, Wisconsin came up with the world’s first pumpkin carving kit: a small saw and printed stencils you could tape onto your pumpkin and saw out a design. Suddenly anyone could carve a witch on a broomstick or a cat howling at the moon. Millions of people grew up with these kits, and they’re still everywhere today.

Style 2 is that same idea. You pick a stencil, transfer it to your pumpkin, and saw out the shapes. Two shades, skin and light. Simple and satisfying.
Shades: 2 (pumpkin skin + light through holes)
Pros:
- Stencil is easy to follow.
- Quick to carve.
- Thousands of free stencils available online.
Cons:
- Limited detail compared to other styles.
- Large cut-out holes can make the pumpkin fragile.
- Pumpkin will rot faster once cut open.

Free download
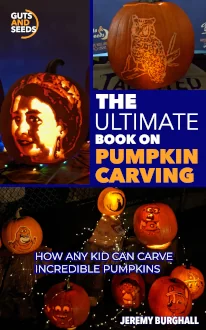
Get The Ultimate Book on Pumpkin Carving — free
64 chapters covering every technique, every tool, and all nine carving styles. Written by someone who has carved pumpkin portraits for over 30 years and taught 500+ kids. Illustrated with real carvings by the author and his students.
Get the free book →Free to download. Works on iPhone, iPad, Android, and computer.