
This section is for grown-ups. Kids and younger teens, the wood carving tool method in Chapter 44 will get you the same results. It’s much easier to control. If you are using a knife, wearing gloves is strongly recommended.
This section covers the same goal as Scrape Lines with Wood Carving Tools: cutting along all the scrape lines to create a clean boundary before removing the skin. The difference is you’re using a small flat-edge paring knife instead of wood carving tools.
Trace every scrape line on your stencil with the tip of the knife, drawing it carefully along each line with light pressure. You’re scoring straight down through the skin, a couple of millimeters deep at most. The cut line will act as a natural stop during the scraping step, keeping you from straying outside the scraped areas.
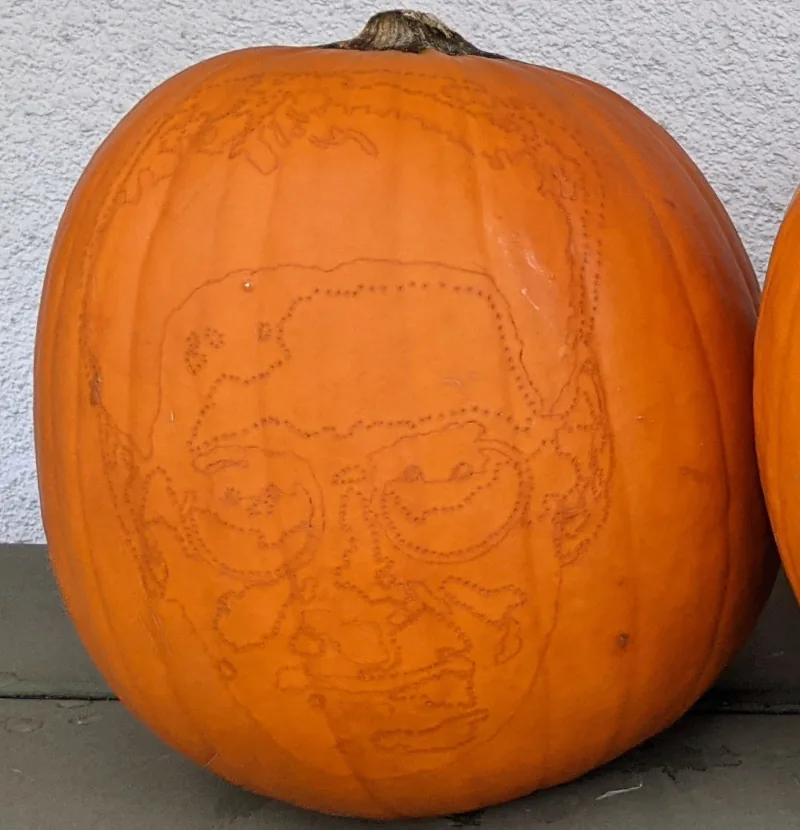
Ignore the saw hole lines and any black Sharpie filled areas. Those are handled in other steps.
Identifying your scrape lines. Refer to your original printed stencil to confirm which lines are the scrape lines. In Pumpkin Studio they are the red lines. This is where having a clean second printed copy of your stencil really helps. You may also want to refer to the tissue or stencil paper that was attached to your pumpkin. This is especially helpful for lines near the corners where folds distorted the original lines and you had to connect them by hand.
- Sharpie Trace method: if you used different colored Sharpies when tracing onto the pumpkin, the scrape lines should be easy to identify. If different line types used the same color Sharpie, be careful not to confuse your scrape lines with any Black Sharpie Marking lines or Saw lines. Check against your printed stencil.
- Pushpin method: follow your dotted lines carefully, using your stencil to confirm which dots are scrape lines. Rub a little flour over the surface first to make the dots easier to see.
Keep your stencil close throughout this whole step. You’ll be checking it constantly.
Remember, rotate or lay the pumpkin on its side to keep yourself in a comfortable position. Always cut away from your body and hands.
Free download
Get The Ultimate Book on Pumpkin Carving — free
64 chapters covering every technique, every tool, and all nine carving styles. Written by someone who has carved pumpkin portraits for over 30 years and taught 500+ kids. Illustrated with real carvings by the author and his students.
Get the free book →Free to download. Works on iPhone, iPad, Android, and computer.