
This step is for grown-ups. It uses a large kitchen knife. Kids, you’re back in charge right after this one.
You have two options for where to cut your lid: the top or the bottom. Both work, and each has its advantages.
Top Lid
Pros:
- Traditional look with the stem intact on top
- Easy to see when replacing the lid
- Works best with candles
Cons:
- Lid can fall inward if not cut at an angle
- Less front carving space if stencil sits high
Bottom Lid
Pros:
- More carvable space on the front face
- Pumpkin sits flat and stable
- Easier to place and remove your light
- No risk of lid falling inside
- Sides less likely to cave in over time
Cons:
- Can’t see the lid when replacing it. Cut a notch to guide you
I’d recommend the bottom lid. It gives you more front carving space, the pumpkin sits flat and steady, and placing an LED light is easy. Just lift the pumpkin, set the light underneath, and set it back down. If you’re using a candle instead of an LED, cut your lid on top and carve a small chimney hole at the back of the lid to let heat escape.
How to cut the lid:
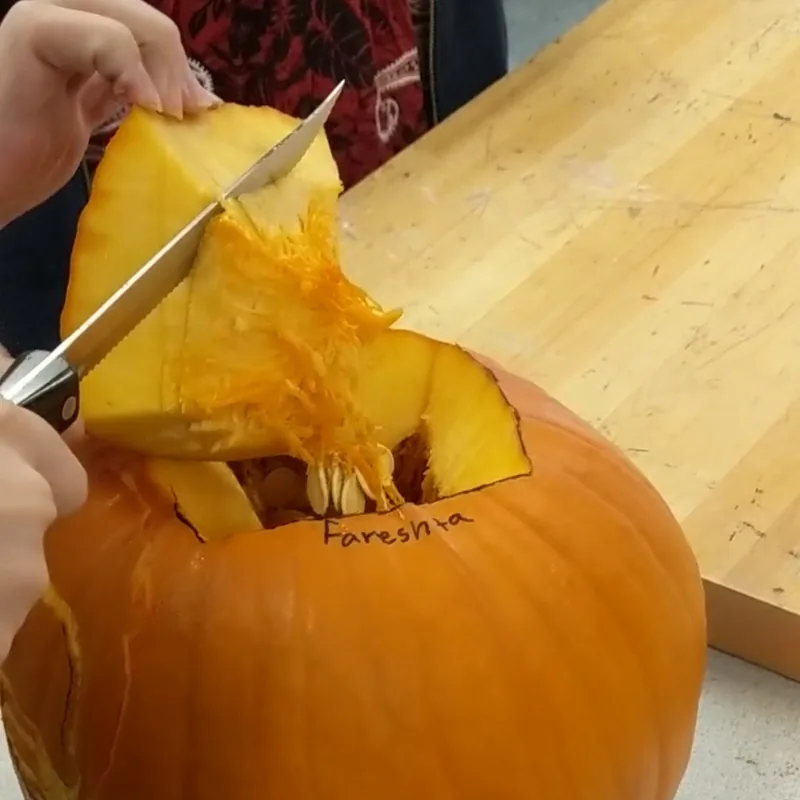
Don’t cut a circular hole. It will spin and never line up properly. Instead, cut four or five straight lines to make a square or pentagon shape.
Angle your knife inward toward the center of the pumpkin on every cut. This creates a ledge that stops the lid from falling inside.
Make the opening large enough to comfortably fit your hand and a spoon. If in doubt, go bigger. A small opening makes gutting difficult.
Cut a small V-shaped notch into one side of your lid outline before you start cutting. This is your guide for lining the lid back up correctly every time.
Once the lid is free, trim any stringy guts from the inside of it and set it aside. You may also want to use the knife to trim the edge inside the pumpkin.

Free download
Get The Ultimate Book on Pumpkin Carving — free
64 chapters covering every technique, every tool, and all nine carving styles. Written by someone who has carved pumpkin portraits for over 30 years and taught 500+ kids. Illustrated with real carvings by the author and his students.
Get the free book →Free to download. Works on iPhone, iPad, Android, and computer.