
This chapter is for grown-ups. Kids and younger teens, the wood carving and clay tool method in Sculpting — With Wood Carving and Clay Tools will get you the same results. It’s much easier to control. Wearing gloves is strongly recommended throughout.
Sculpting is what gives your carving real depth and shading. Where scraping removes the skin to create a flat glowing area, sculpting carves into the pumpkin wall to varying depths. It creates a gradient of brightness from dim to bright that follows the shading in your stencil.
The technique. Use the same small circular motion as in Scraping — With a Small Kitchen Knife. Tip of the knife as an anchor, blade sweeping in short arcs, but this time carving deeper into the pumpkin wall rather than just removing the skin. Remove small amounts at a time and work gradually.
Start at the sawed hole edges. The brightest areas in your design are right at the edge of your sawed holes, where the wall should be thinnest. Begin here, carving on an angle so the wall tapers. Thinnest right at the hole’s edge, gradually thickening as you move away toward the darker areas of the design. Think of it like carving a ramp away from each hole.
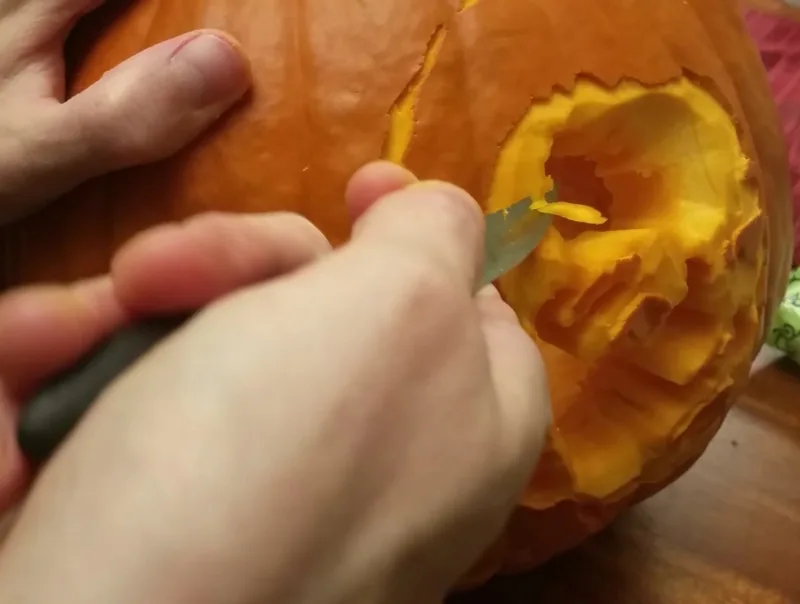
Follow the gradient in your stencil. Check your printed stencil to see how quickly the shading transitions from light to dark in each area. Some gradients are steep, like the ridge of a nose, where the bright highlight and dark shadow are close together. You go from thin to thick over a short distance. Others are wide and gradual, like a forehead, where the shading shifts slowly across a large area and your carving depth should increase gently over a longer distance. Let the stencil guide you.
When you think you’re done, or want to check, do the light test. Take your pumpkin to a dark room and place a light inside. This is where you’ll see what needs more work. For areas that look too dim and are safely away from any cut holes, I’ve found it’s usually more effective to thin the wall from the inside. Use your gutting tool or spoon rather than trying to carve very deep from the outside.
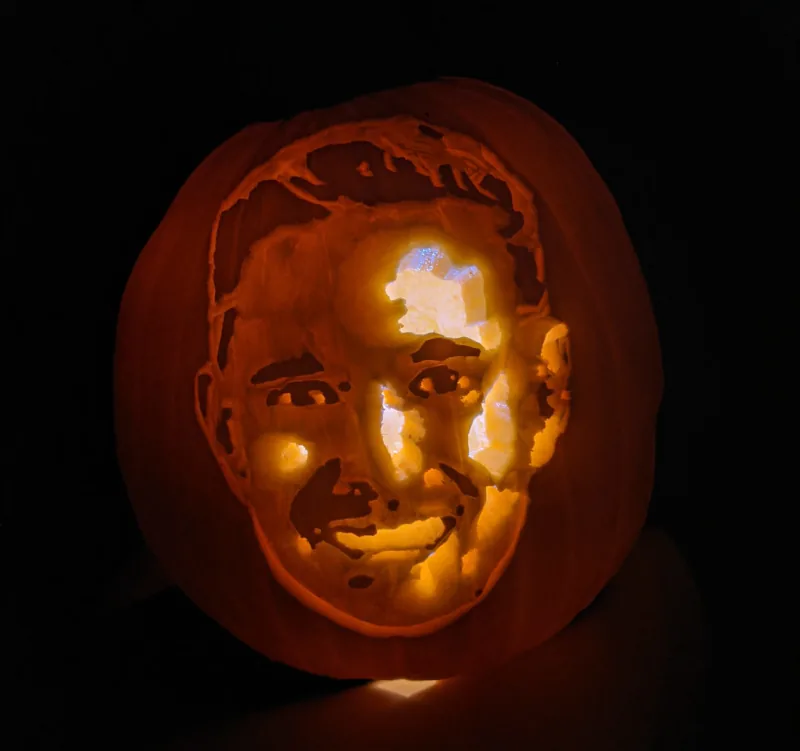
For my first 30 years of carving pumpkin portraits, I only used this knife method. A pumpkin carving saw and a flat paring knife was all I ever used. The results can be just as impressive as any other method. It just takes patience and a feel for the depth that gets better every time you carve.

Free download
Get The Ultimate Book on Pumpkin Carving — free
64 chapters covering every technique, every tool, and all nine carving styles. Written by someone who has carved pumpkin portraits for over 30 years and taught 500+ kids. Illustrated with real carvings by the author and his students.
Get the free book →Free to download. Works on iPhone, iPad, Android, and computer.