
This step is for Styles 3 and 3+ only. If your stencil doesn’t have any black Sharpie areas, skip ahead to the next step.
Filling in the Sharpie areas is straightforward, but a few things make a real difference:
Make sure your pumpkin is completely dry first. Any moisture on the skin will cause the Sharpie to skip and stop working mid-stroke. If your pumpkin feels damp, pat it dry with a paper towel and give it a few minutes before starting.
Fill in all the black areas on your stencil using a black Sharpie fine tip. Work carefully around the edges first, then fill in the middle. Refer to your original printed stencil regularly to make sure you haven’t missed any areas.
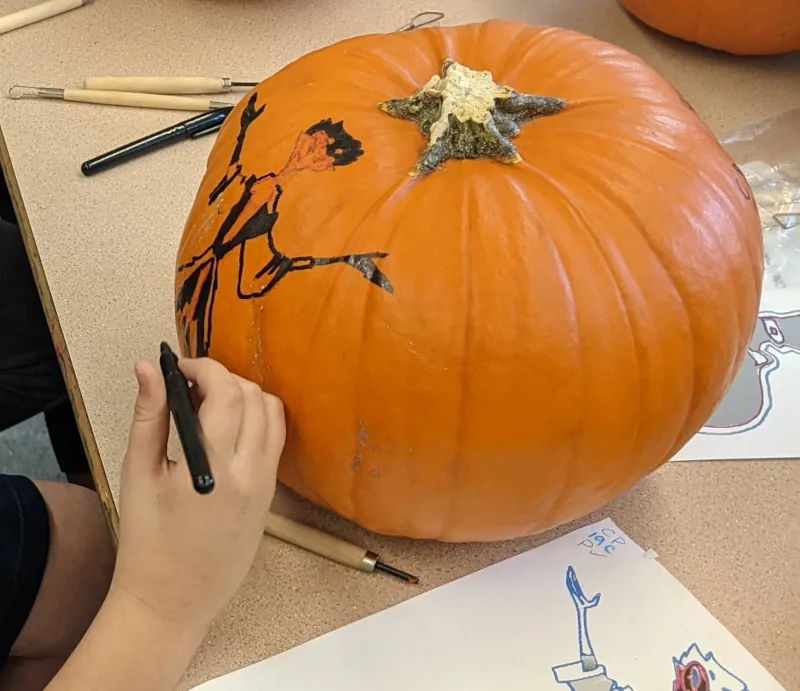
Large black areas drain Sharpie ink fast. Have two or three black Sharpies on hand before you start. If a Sharpie runs dry mid-carving, parents can revive it in a pinch. Pour a small amount of rubbing alcohol or hand sanitizer into a bottle cap, dip the tip in for about 15 seconds until you see ink swirling into the liquid, then recap and let it sit for 15 minutes before using again. That said, having a fresh backup ready is much faster than waiting, so grab extras before you start.
Made a mistake? Dab some hand sanitizer onto a cotton pad or tissue and wipe it off. Works like an eraser.
Free download
Get The Ultimate Book on Pumpkin Carving — free
64 chapters covering every technique, every tool, and all nine carving styles. Written by someone who has carved pumpkin portraits for over 30 years and taught 500+ kids. Illustrated with real carvings by the author and his students.
Get the free book →Free to download. Works on iPhone, iPad, Android, and computer.