
Pumpkins get all the attention at Halloween, but watermelons are a seriously underrated carving canvas. They’re available all summer long, and you can often find imported ones in winter too. Here’s everything you need to know.
How watermelon carving works
Instead of sawing holes all the way through, watermelon carving is almost entirely a scraping technique. You’re removing only the thin outer layer of green skin to expose the white rind underneath, giving you two tones to work with: dark green and white. Think of it like Style 2+ (Scrape & Sculpt), but without the sculpting. No islands to worry about, no structural concerns. Nothing is sawed all the way through.
Because you’re working with just two tones, your stencil needs to capture more detail upfront. Subtle shading that a pumpkin carving might pull off with depth and shadow needs to be clearly defined in green and white. On a watermelon, there’s no middle ground. If you’re using Pumpkin Studio, select Style 2 and turn island detection off. It isn’t needed here.
Yellow-fruit watermelons: light them up
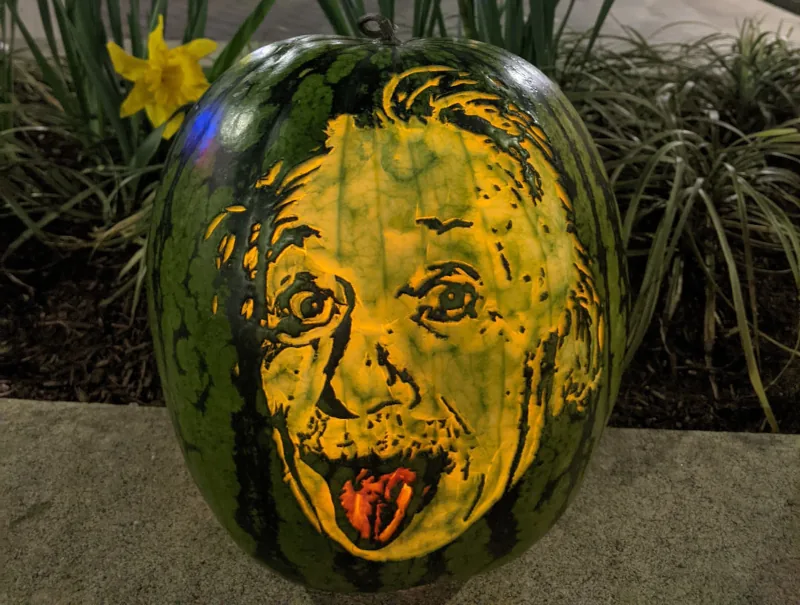
Yellow-fruit watermelons can be gutted and lit from the inside with an LED light, just like a pumpkin. Fair warning: gutting a watermelon is spectacularly messy and getting all the liquid out is impossible. But the glowing effect is worth it.
Red-fruit watermelons: a secret third tone
Here’s where it gets fun. If your design has areas where red makes sense, like a tongue, a sunset, or a splash of color, you can saw all the way through the green and white layers to expose the red fruit beneath. Suddenly you have three tones: green, white, and red.
Just don’t put an LED light inside a red-fruit watermelon unless you’re going for a demonic look!
Food coloring: unlimited colors
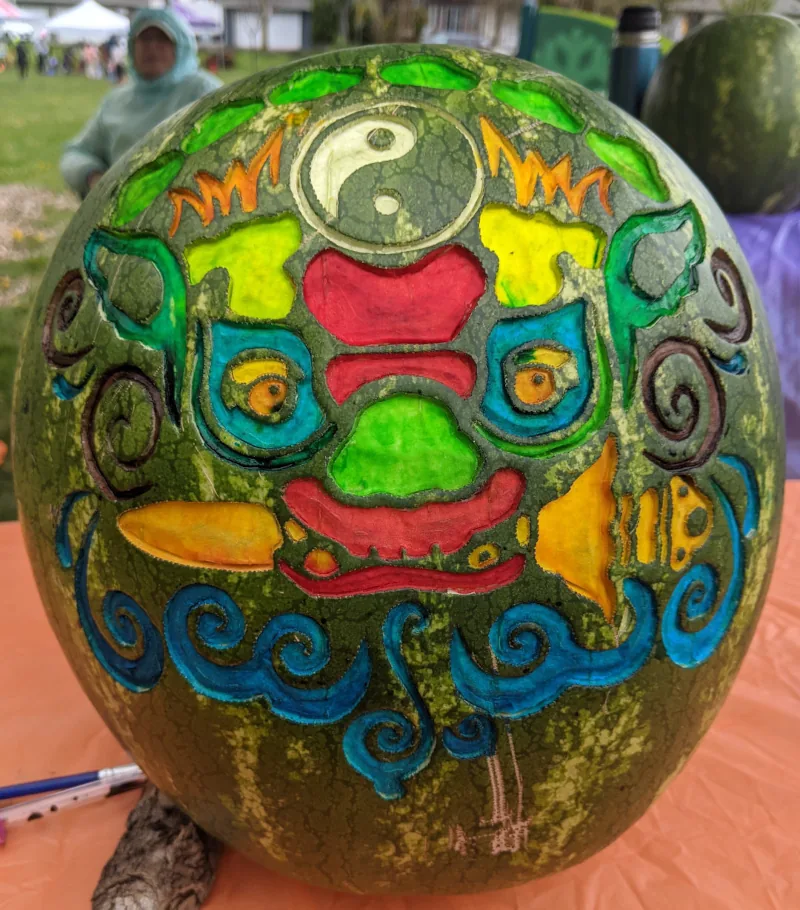
The other fun thing with watermelons is that the white rind is like a blank canvas. Using an eye dropper and food coloring, you can dye any scraped white area any color you like: blue, purple, yellow, orange. This opens up creative possibilities in a different way that pumpkins can’t match.
A royal watermelon crown
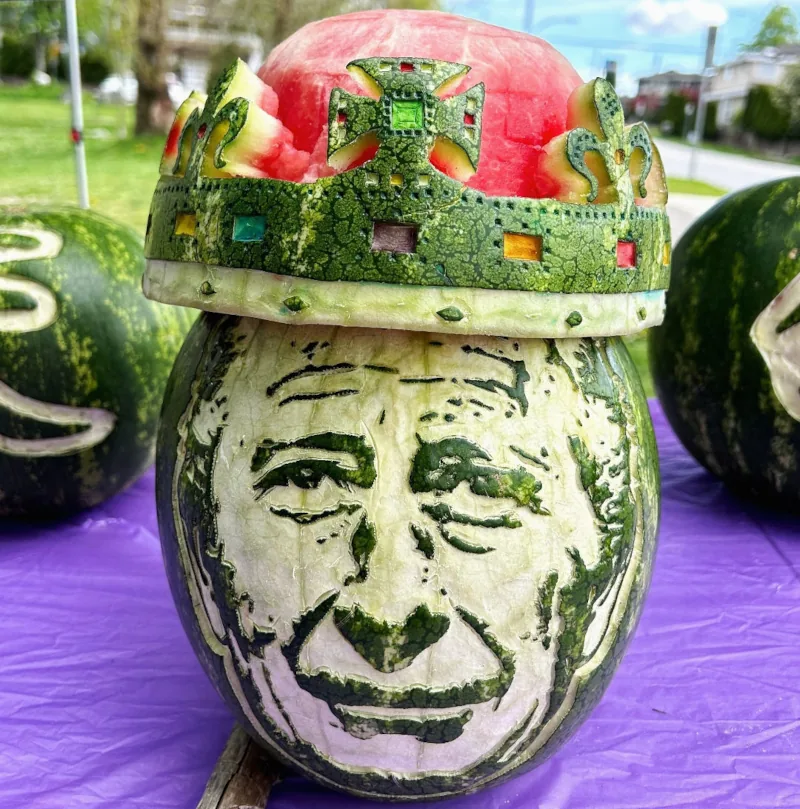
For King Charles’s coronation, I carved a large portrait of the King on one watermelon, then built him a crown from another. I cut the second watermelon in half and wrapped a custom stencil around it to create the skin pattern of a crown. Then I cut it out with a pumpkin saw. Food coloring turned the scraped white areas into jewels, and the exposed red fruit on top represented the purple velvet. Then came the fun part, scooping out the base of the crown so it would sit on top of the portrait watermelon. Watermelons are extraordinarily slippery. Getting that crown to stay on long enough for a photo was one of the more chaotic moments of my carving career.
Free download
Get The Ultimate Book on Pumpkin Carving — free
64 chapters covering every technique, every tool, and all nine carving styles. Written by someone who has carved pumpkin portraits for over 30 years and taught 500+ kids. Illustrated with real carvings by the author and his students.
Get the free book →Free to download. Works on iPhone, iPad, Android, and computer.