
For this step you’ll need a pumpkin carving saw, the small serrated blade that comes in most pumpkin carving kits. A keyhole saw is even better if you can get one. The finer blade allows for more precise cuts and preserves more detail in your design.
Styles 1, 1+ & 2: Do a saw poke test first. Before sawing, insert your saw blade fully into one of your pattern lines. Then carefully reach your hand through the lid opening and feel for the blade tip inside the pumpkin. Go slowly and be careful not to cut yourself. You want to feel at least about 1 inch (2.5 cm) of exposed blade inside. That means there’s enough blade length beyond the wall to saw back and forth freely without the handle hitting the skin on every stroke. If you can barely feel the tip, your walls are too thick for comfortable sawing. Go back and thin them a little more before continuing.
Styles 3+, 4 & 4+: you haven’t gutted yet. Think of this sawing step as tracing your Saw lines and creating a clean boundary for when you scrape the skin off later. You’ll do the full saw poke thickness test when it’s time to gut. What matters most here is sawing perpendicular to the surface. Straight in, no angle.
Sawing the Design
Work from smallest holes to largest. This keeps the pumpkin strong while you saw. The largest holes weaken the structure the most, so save them for last.
Sawing at the right angle matters. Always saw straight into the pumpkin at 90 degrees, perpendicular to the skin surface. Think of it like cutting straight down, not on an angle.
- If you angle the saw inward toward the center (like cutting the lid), the hole will be too narrow on the inside. Less light shines through. Fix it by re-sawing the hole slightly wider.
- If you angle the saw outward toward the sides, the hole will be too wide on the inside, leaving the wall thin and fragile at the cut edge. For Styles 1 & 2 this isn’t a serious problem. But for Styles 3+, 4 & 4+ where you’ll be scraping skin off around those edges later, a thin wall at the edge of a hole can break. If you notice you’ve cut outward on an angle, take extra care when scraping near that hole.
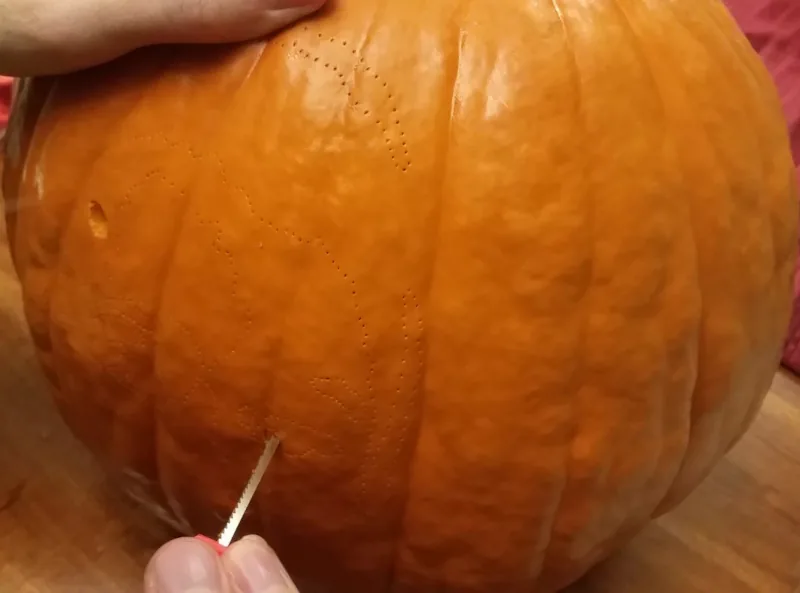
Going around corners. Never try to steer a moving saw around a sharp corner. The blade can snap under the sideways pressure. Instead, pull the blade fully out of the pumpkin, reinsert it at the new angle, and continue sawing from there.
For portrait stencils, the eyes are the most critical holes. The tiny bright triangles on either side of the dark pupil, and any sparkle dots, often do the most to make the portrait look like the person. These are usually your smallest holes too. Saw a few less important small holes first to get comfortable with the saw before tackling the eyes.
Tiny dot holes that are too small for a saw blade can be made with a pushpin, a needle tool, or any sharp improvised point.
Don’t push the pieces out yet. For Styles 3+, 4 & 4+, keep all the sawed pieces in place. They hold the pumpkin together while you move on to scraping and sculpting. If you’re carving day(s) before display, keeping those holes sealed also slows down the rotting process significantly. You’ll push them out after gutting. For Styles 1, 1+ & 2, read the next section before removing any pieces. It has important tips for getting them out cleanly without breaking your carving.
When all holes are sawed, do a final check against your printed stencil to make sure you haven’t missed any lines before moving on.

Free download
Get The Ultimate Book on Pumpkin Carving — free
64 chapters covering every technique, every tool, and all nine carving styles. Written by someone who has carved pumpkin portraits for over 30 years and taught 500+ kids. Illustrated with real carvings by the author and his students.
Get the free book →Free to download. Works on iPhone, iPad, Android, and computer.