
Getting the Guts Out
For most kids, this is their favorite part! It’s messy, and slimy, and fun. Let them go for it!
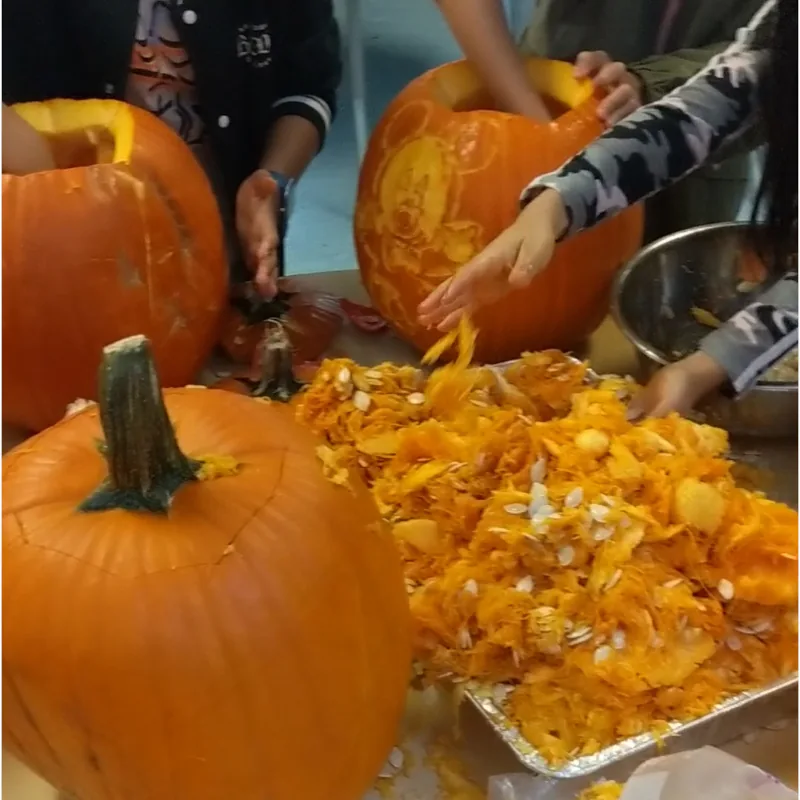
Before you start: remove your gloves. They’ll be ruined by the guts. Put them back on when you’re done.
Set yourself up for less mess. Gutting in the kitchen sink works great for a single pumpkin. If you’re carving more than one pumpkin, lay down a drop cloth or some newspaper and keep a garbage bag open beside you. About 10 pumpkins’ worth of guts fills one standard garbage bag. Never fill it more than halfway or it’ll split when you try to lift it.
If you want to roast the seeds, keep a bowl nearby and fish them out as you go.
Now gut it. The best tool I’ve found for this is a toothed ceramic loop tool (pear shape works best). The serrated edge grabs and pulls the stringy bits away from the walls far better than a spoon. A large spoon or the plastic scraper from a pumpkin carving kit works too, but takes a bit more effort. Scrape along the inside walls to loosen everything, then pull the guts out with your hand. Work your way all around the inside until the walls feel clean and smooth. The stringy bits speed up rotting, so get them all. Parents may need to help with the tricky edges around the lid opening.
Thinning the Walls
Once the guts are out, it’s time to thin the walls. Thinner walls mean more light shines through your carving, and they’re much easier to saw and scrape through.
The same toothed ceramic loop tool you used for gutting is still your best tool here. Keep using it to scrape the walls down evenly. It leaves the inside with a nice raked texture and gives you great control over how much pumpkin you remove. A large spoon works too but takes more effort and is a bit harder to control.
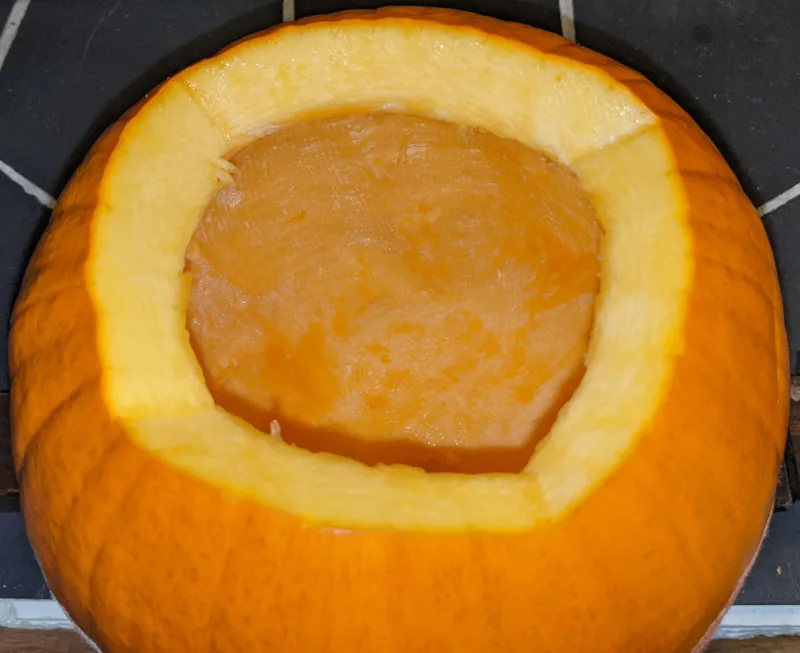
How much should you thin? After removing all the guts, use the same tool to thin a little bit of pumpkin off the inside front wall (opposite your design), just enough to even things out. Don’t go too far yet. How you fine-tune from here depends on your carving style:
- Styles 1, 1+ & 2: a light thinning now is enough. You’ll do a saw poke test later to check the wall thickness and can come back to thin more if needed.
- Styles 2+ & 3: a light thinning now is enough. Once your carving is finished, place a light inside in a dark room. If the glow through the scraped areas looks too dim, come back and thin the walls a little more from the inside.
- Styles 3+, 4 & 4+: your holes are already sawed, so you can measure the wall thickness right now with a saw poke test. Fully insert your saw blade into one of your existing sawed holes and carefully pinch the blade with your fingers inside the pumpkin. Pull the saw out and estimate how much of the blade was inside the wall. Test several spots around your design, since wall thickness can vary across the front of the pumpkin. You’re aiming for 1¼ to 1½ inches (3–3.5 cm). If the wall is thicker than that in places, thin a little more and test again. If you’re gutting ahead of display day, try to keep the sawed pieces in place while you work. Each open hole accelerates rotting, so the longer they stay in the better. Work gently near the front and avoid pressing hard against the sawed areas.
- Styles 2+ & 4+ (sculpting styles): you’ll be sculpting the wall thickness from the outside later, so don’t over-thin during gutting. A light pass is all you need. Let the sculpting step handle the rest.

Free download
Get The Ultimate Book on Pumpkin Carving — free
64 chapters covering every technique, every tool, and all nine carving styles. Written by someone who has carved pumpkin portraits for over 30 years and taught 500+ kids. Illustrated with real carvings by the author and his students.
Get the free book →Free to download. Works on iPhone, iPad, Android, and computer.