
Tracing Your Stencil
The Sharpie Trace method is great for kids, fast to learn, and works for all carving styles. Because it leaves a permanent Sharpie mark without damaging the pumpkin, you can transfer your stencil days or even weeks before carving. The trade-off is that it preserves slightly less detail than the Pushpin method, but for most designs it works great.
This method involves tracing your stencil three times in total.
First trace — onto tissue paper
Cut a piece of tissue paper or white tracing paper to fit slightly smaller than your printed stencil. Tape all four edges securely. Attach the tissue paper to the stencil, and the stencil to the table, so nothing can shift while you trace.
Now trace all the lines using thin-tip regular markers (not Sharpie). Use a different color for each line type so you can tell them apart later. To match Pumpkin Studio’s color coding, I use:
- Saw lines → blue marker
- Scrape lines → red marker
- Sharpie lines (Style 3 & 3+ only) → black marker
Trace carefully without pressing too hard. You don’t want to rip the tissue paper.
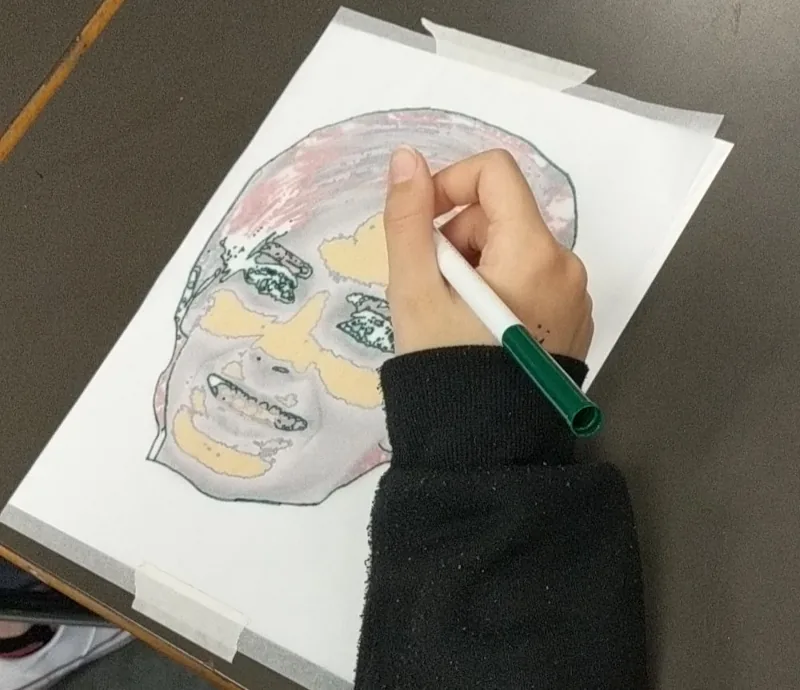
Pro tip: use a light box. Years ago I hired a couple of tattoo artists off Craigslist to help trace stencils onto pumpkins for a large school event, before I realized how easy kids find this step! The tattoo artists introduced me to light boxes: a flat, backlit screen that you lay your stencil and tissue paper on top of. The light shining up from below makes every line easy to see, and tracing becomes almost effortless. If you’re planning to carve regularly, a light box is a great tool to have. They’re inexpensive — find a link at gutsandseeds.com/tools.
Once you’ve traced all lines, double-check against your original stencil before carefully removing the tissue paper from the stencil. Then go to Chapter 35 to attach the tissue paper to your pumpkin, and come back here when it’s attached.
Transferring to the Pumpkin
Second trace — through the tissue paper onto the pumpkin
With the tissue paper attached to the pumpkin, trace over your lines again using Sharpie. This time press slowly and firmly enough for the ink to bleed through onto the pumpkin skin, but not so hard that you rip the paper.
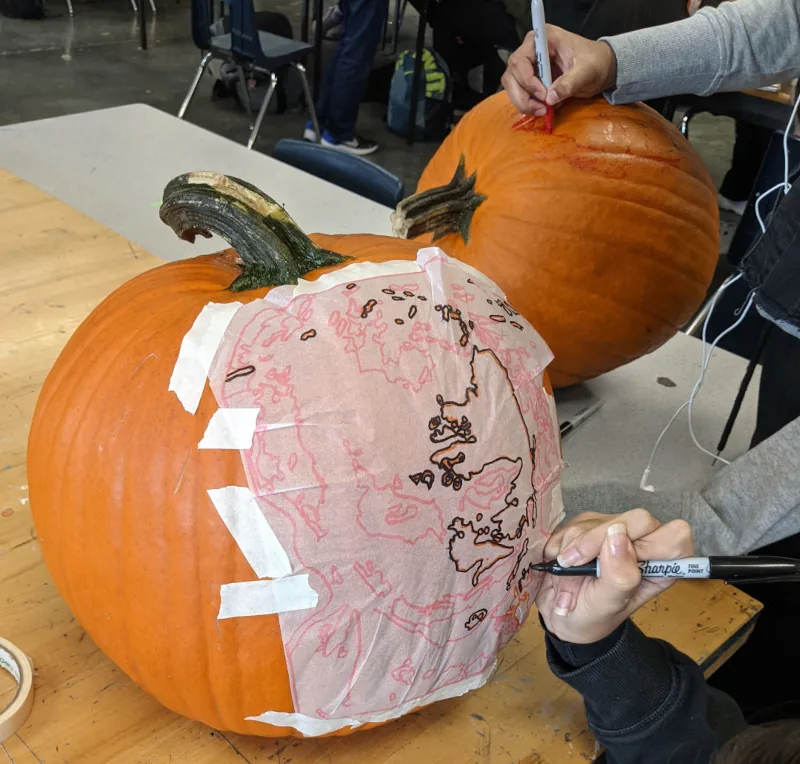
Use a blue Sharpie for Saw lines, and a black Sharpie for scrape lines and Sharpie lines. I don’t recommend using red Sharpie. It can be more difficult to see the faint lines on the orange pumpkin. For styles with only scrape lines or only Saw lines, one Sharpie color is enough. For Style 3+, where scrape and Sharpie lines are both traced in black, refer to your original stencil and your tissue paper to tell them apart.
Where the tissue paper had to be folded in the corners to fit the curve of the pumpkin, the lines may not quite connect. Trace a new line to connect the original lines together where it makes sense, referring to the stencil.
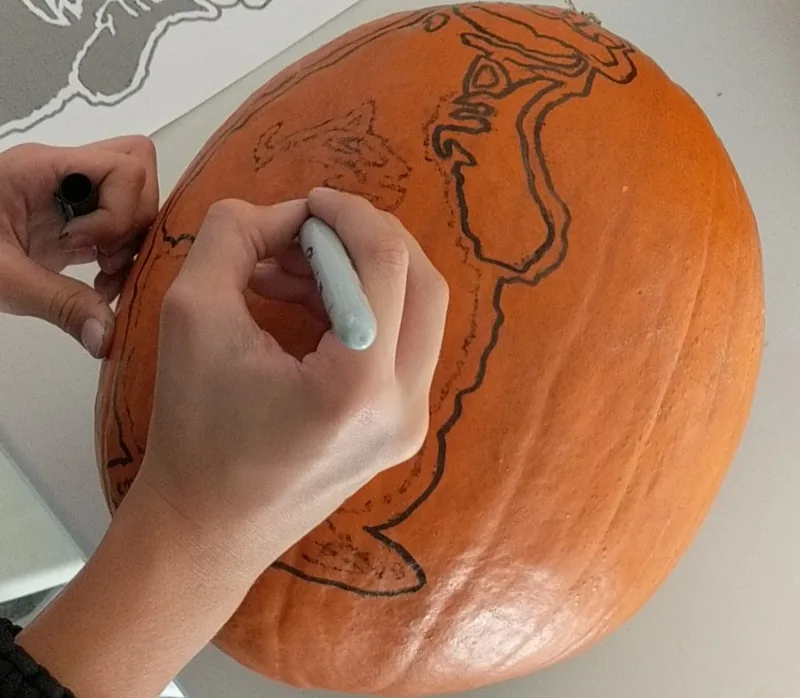
Third trace — cleaning up the lines on the pumpkin
Carefully peel the tissue paper off the pumpkin. Try not to tear it, you may need to refer to it again. You should now see faint Sharpie lines on your pumpkin. Go over each line again with the same color Sharpie to make them easier to follow. Some lines may be very faint, so use both your tissue paper and original stencil to find any you may have missed.
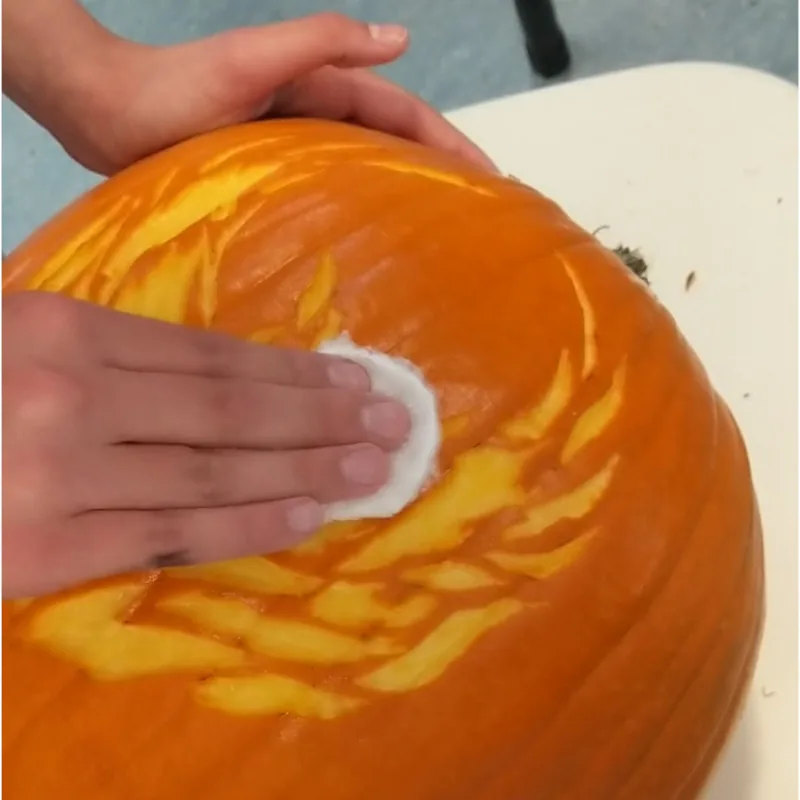
If you make a Sharpie mistake at any point, dab hand sanitizer on a cotton pad or tissue and wipe to erase it. You can also use this method to erase any left over lines when your carving is finished.
Free download
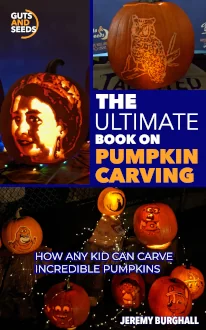
Get The Ultimate Book on Pumpkin Carving — free
64 chapters covering every technique, every tool, and all nine carving styles. Written by someone who has carved pumpkin portraits for over 30 years and taught 500+ kids. Illustrated with real carvings by the author and his students.
Get the free book →Free to download. Works on iPhone, iPad, Android, and computer.